After upgrading to Windows 10 32-bit or 64-bit from Windows 7 or Windows 8/8.1, Epson Scan may fail to open.
Please follow the steps below to allow Epson Scan to open.
Check to see if Epson Scan is running in compatibility mode
- Locate the Epson Scan icon on the Desktop or in the Start menu.
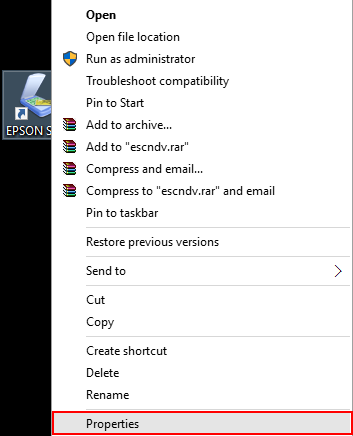
- Right click or tap and hold on the Epson Scan icon and a new menu will appear, in this menu click or tap Properties.
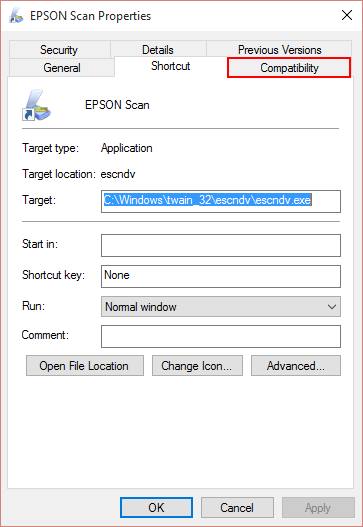
- In the Properties window, click or tap on the Compatibility tab.
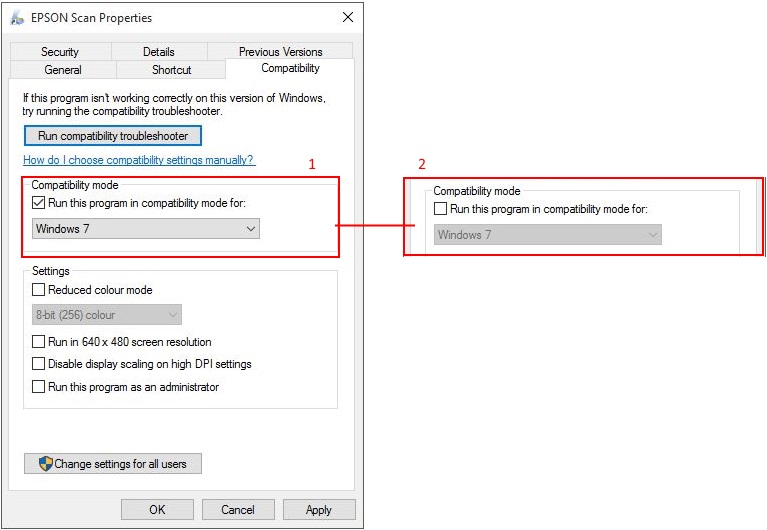
- Uncheck the box next to Compatibility if it is ticked and then click OK.
Uninstall and reinstall Epson Scan
- If the product is connected via a USB cable to the computer or tablet, remove the USB cable and then reinsert the USB cable into the Epson product.
- Uninstall and reinstall Epson Scan.
Check to make sure WIA Services is running
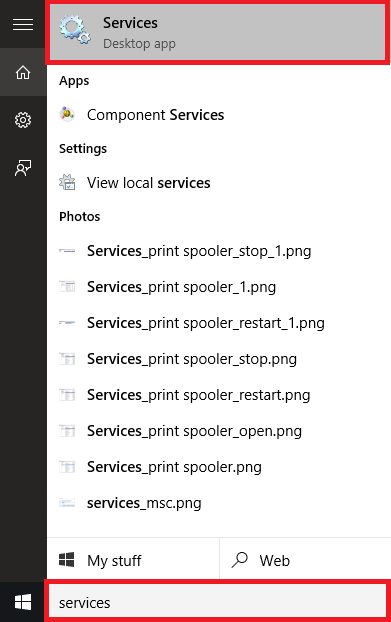
- In the Search Bar type Services and press Enter.
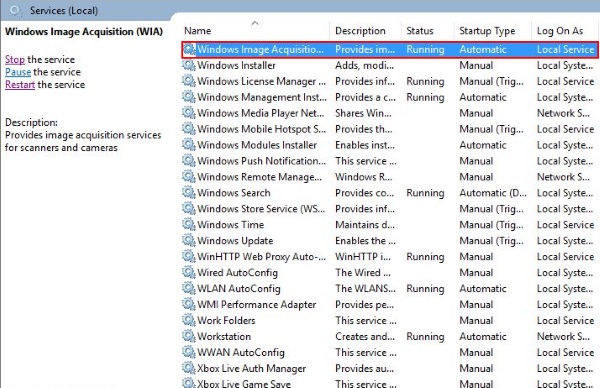
- In the window that opens, identify Windows Image Acquisition (WIA) in the list and double click or double tap on it.
- In the window that opens, check that Startup type is set to Automatic and that the Service status is showing as Running.
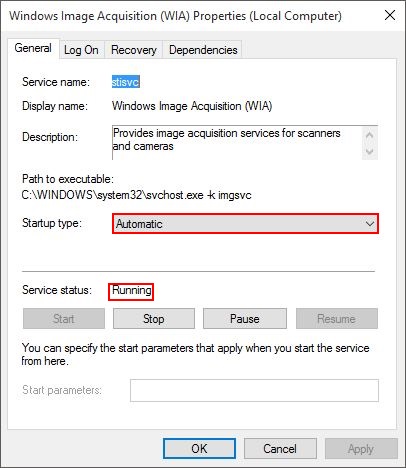
- If the status is not showing as Running, click or tap the Start button.
- Click OK to complete the changes.