Epson Scan 2: Network Setup
This article will explain how to add a new scanner to Epson Scan 2.
|
If you have your scanner connected with a USB cable the scanner will be added automatically ready to use. |
Select your operating system and follow the below steps to add a network scanner in Epson Scan 2.
Windows
I have no scanners installed
-
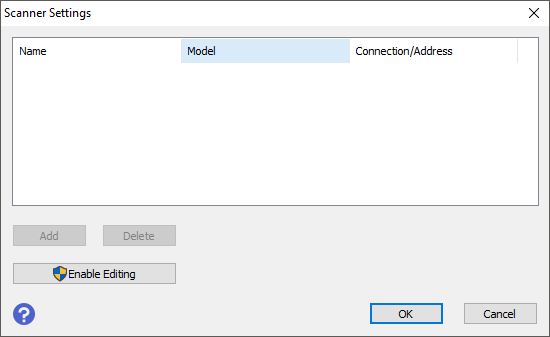
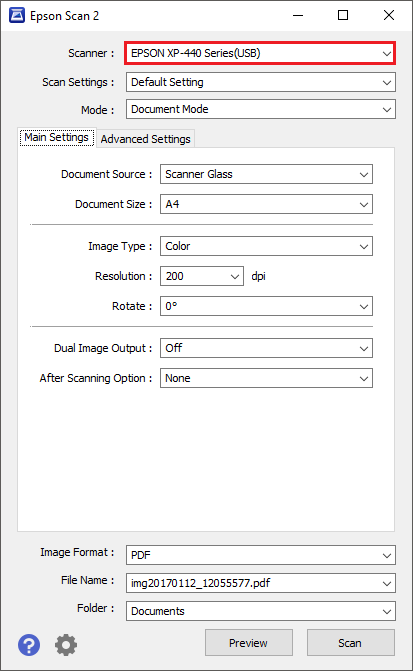
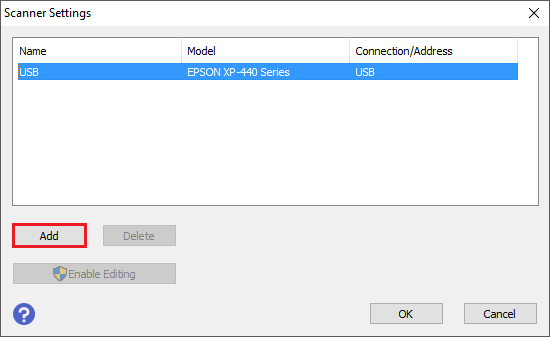
Open Epson Scan 2 and you will be presented with the below screen.
-
Click on Enable Editing to enable the Add button.

- Click Yes to the pop-up window.
-
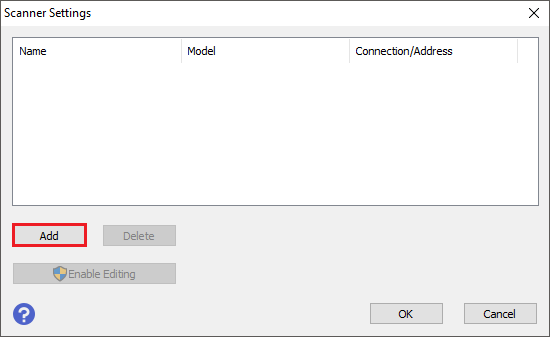
Click the Add button.
-
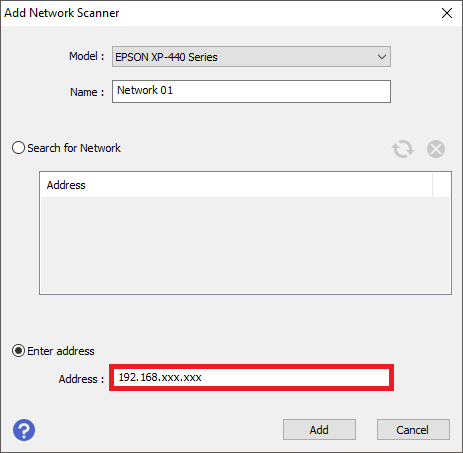
Select the scanner you wish to add from the Model list, the Epson Scan 2 software will automatically start to search your local network for the selected scanner.
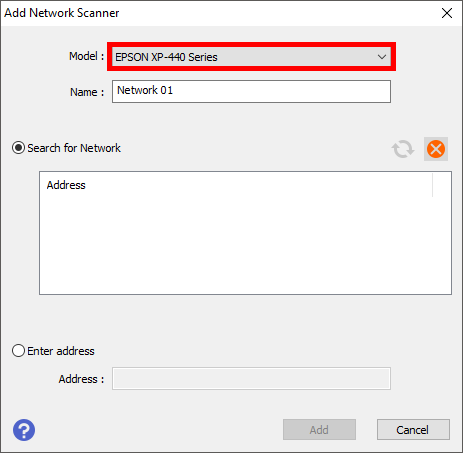
 Note:
Note:The name of the scanner can be updated by changing the text in the Name box.
-
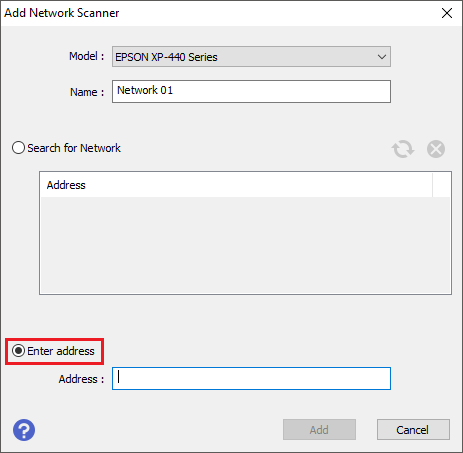
To manually add a scanner using the scanners IP address select Enter Address.
-
Type in the IP address of the scanner then click Add.
-
The printer will then be shown as a selectable device in the Scanner drop down box, click OK to complete settings.

I already have a scanner installed
-
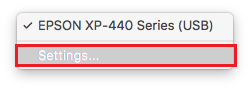
Click the Scanner drop down menu.
-
Select Settings.
-
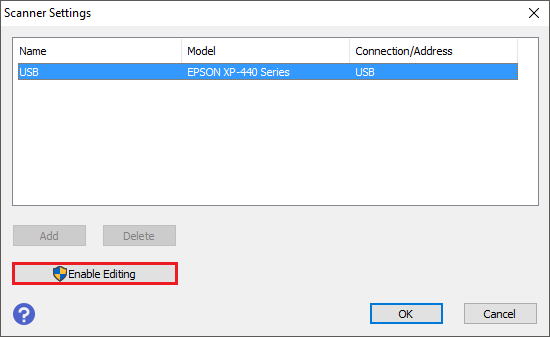
Click on Enable Editing to enable the Add button.
- Click Yes to the pop-up window.
-
Click the Add button.
-
Select the scanner you wish to add from the Model list, the Epson Scan 2 software will automatically start to search your local network for the selected scanner.
Note:
The name of the scanner can be updated by changing the text in the Name box.
-
To manually add a scanner using the scanners IP address select Enter Address.
-
Type in the IP address of the scanner then click Add.
-
The printer will then be shown as a selectable device in the Scanner drop down box, click OK to complete settings.
macOS
I have no scanners installed
-
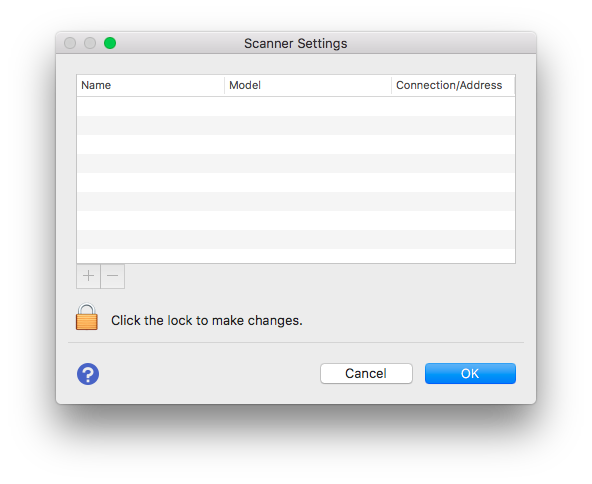
Open Epson Scan 2 and you will be presented with the below screen.
-
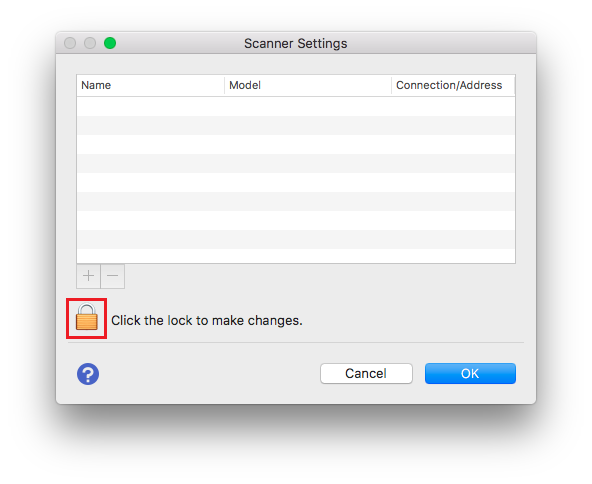
Click on the padlock to enable the Add button.
-
Enter the username and password for you Mac then click OK.

-
Click the Add button.

-
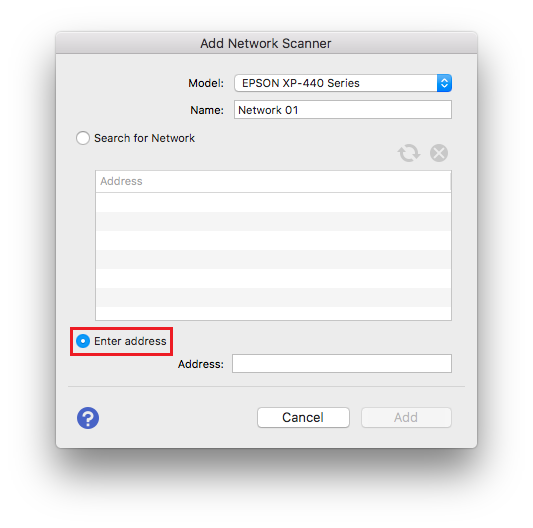
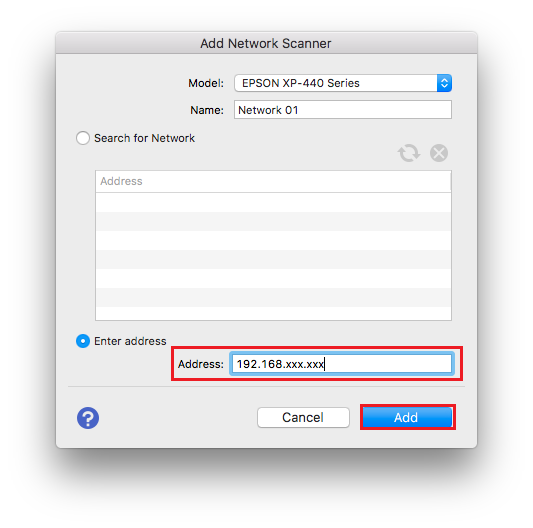
Select the scanner you wish to add from the Model list, the Epson Scan 2 software will automatically start to search your local network for the selected scanner.
 Note:
Note:The name of the scanner can be updated by changing the text in the Name box.
-
To manually add a scanner using the scanners IP address select Enter Address.
-
Type in the IP address of the printer then click Add.
-
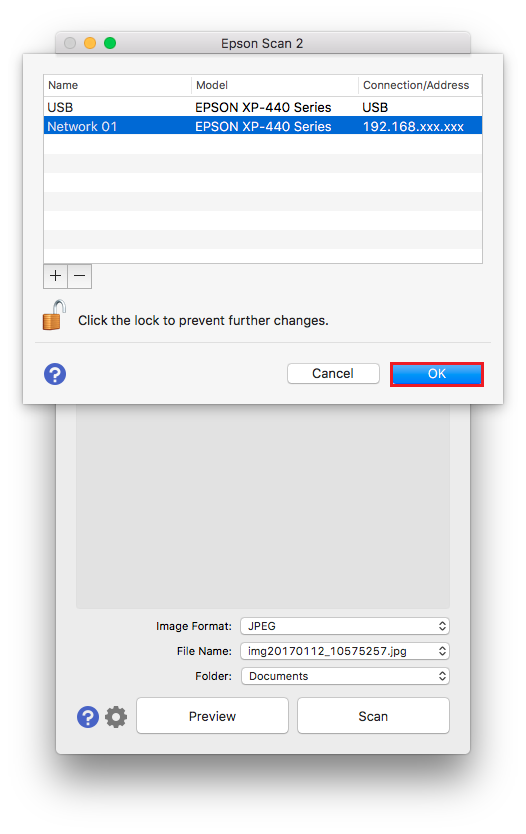
The printer will then be shown as a selectable device in the scanner drop down box, click OK to complete settings.
I already have a scanner installed
-
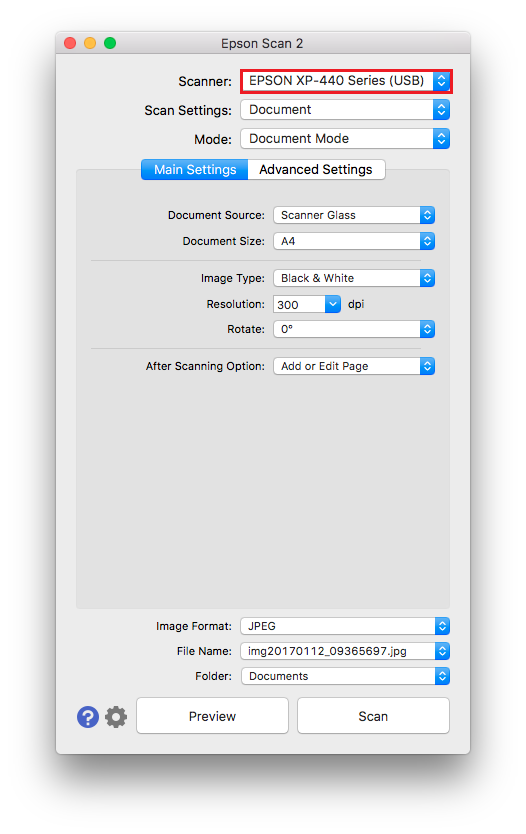
Click the Scanner drop down menu.
-
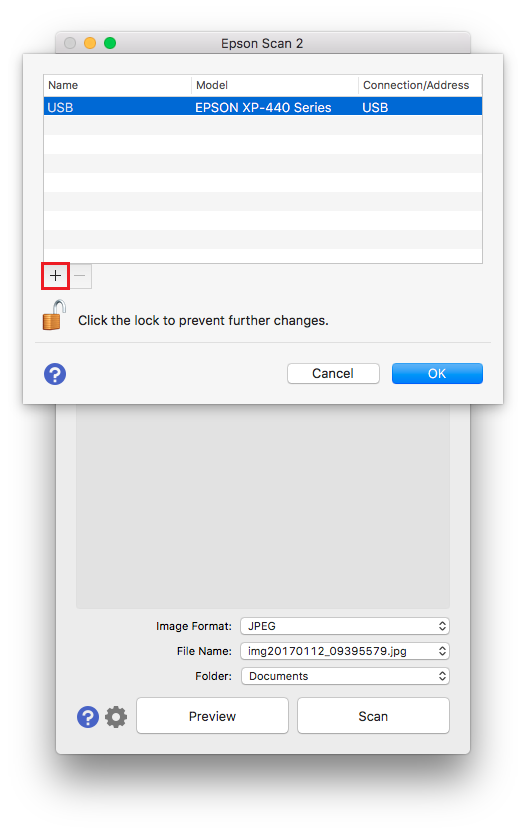
Select Settings.
-
Click on the padlock to enable the Add button.

-
Enter the username and password for your Mac then click OK.
-
Click the Add button.
-
Select the scanner you wish to add from the Model list, the Epson Scan 2 software will automatically start to search your local network for the selected scanner.
Note:
The name of the scanner can be updated by changing the text in the Name box.
-
To manually add a scanner using the scanners IP address select Enter Address.
-
Type in the IP address of the printer then click Add.
-
The printer will then be shown as a selectable device in the scanner drop down box, click OK to complete settings.