An error is shown when opening Epson Scan 2
Epson Scan 2 can be used to scan using a USB, wired or wireless (Wi-Fi) network connection.
|
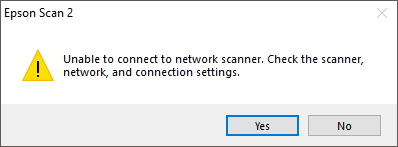
By default, Epson Scan 2 is set to scan using a USB cable, and will present the message, Unable to connect to network scanner. Check the scanner, network, and connection settings. if Epson Scan 2 is opened and an All-In-One printer or scanner is connected using a network or Wi-Fi connection.
Your device (All-In-One printer or scanner) must be connected to the same network as your PC or Mac |
The following explains how to change the settings in Epson Scan 2 to allow scanning using a network or Wi-Fi connection.
- Open Epson Scan 2 Utility.
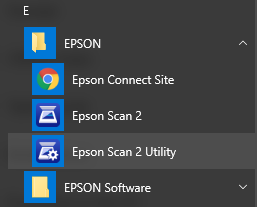
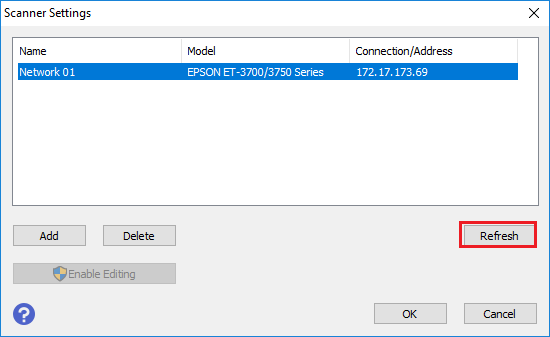
To do this open the Windows Start menu and select the EPSON folder - If the Epson product is not listed, click on the Refresh button
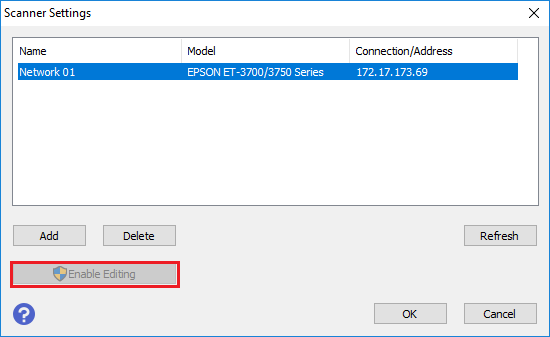
- If it still does not show in the list, click the Enable Editing button.
- Click Click Add

- Click the IP address of the All-in-one or scanner in the list and click OK

 Note:
Note:If the IP address is not shown in the list click Enter Address.
- Type in the IP address of the All in one printer or scanner
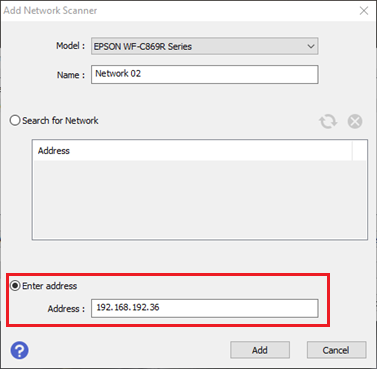
- Click Add
- Type in the IP address of the All in one printer or scanner
- Close Epson Scan 2 Utility and open Epson Scan 2 and the scanner will be able to scan