Installing a printer estate by using the EpsonNet SetupManager and BSF for Colorworks Series
RELATES TO:
This document relates to the following products:
-
ColorWorks series:
- TM-C3500 series
- CW-C6x00 series
- CW-C4000 series
EXPLANATION:
This article will demonstrate how the EpsonNet SetupManager utility can efficiently install driver instances (printer drivers), set ports, and apply driver settings (BSF) files.
| EpsonNet SetupManager utility is either available as a standalone package, or it included as part of the Epson Driver Deployment suite. |
Method:
This method shows how to create the driver setting configuration, then applies the EpsonNet Setup Manager to install new driver instances with target driver setting configuration.
- If it is not already installed, then install the driver.
- If there are no driver instances already created, then create a driver instance for the purpose of creating driver setting configurations. No printer needs to be connected and so any port can be used E.G “LPT1”.
- Using any driver instance E.G the default printer installed “EPSON CW-C3500 Ver2”, create or export media settings, create driver setting configurations/ BSF files, as shown in ColorWorks | Creating BSF files with Favourite Settings.
-
If BSF files have been created from the previous step and port IP addresses are known for each printer, then follow the steps as shown in Figure 1:
- Run Epson Deployment Tool >>
- Making of driver silent installation package >>
- Choose printer driver >>
- Start [EpsonNet Setup Manage] utility.

Figure 1: Start Epson Driver Deployment, choose Making of driver silent installation package, select the Driver Instance “EPSON TM-C3500 Ver 2” and Start EpsonNet SetupManager -
In EpsonNet SetupManager to add a printer/device configuration, select either New Device (Simple Mode) to update the settings in the wizard or use Add Device wizard in the panel.
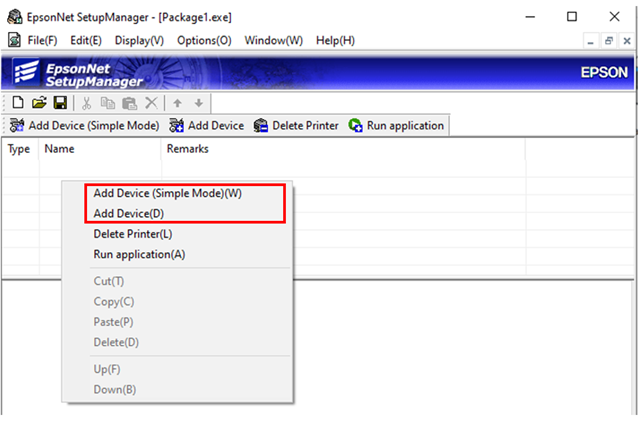
Figure 2: Two methods to Add Device 
Figure 3: “New Device (D)” is available below the ListView
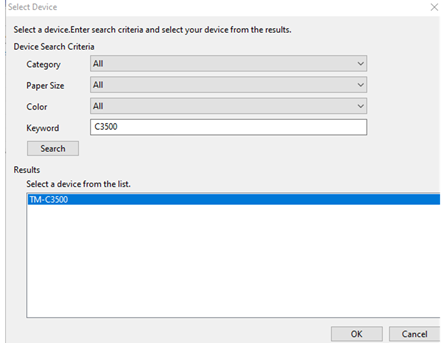
The Add Device (Simple Mode) wizard starts by selecting the device and identifying the model.
The next step is to choose the driver installation folder. The program automatically searches within this folder for the INF file.
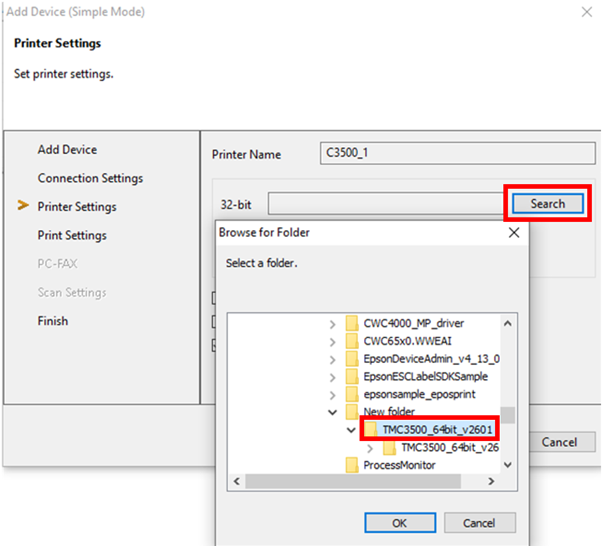
The driver’s installation file are self-extracting EXEs. To expose the INF, apply 7-Zip or similar file manager app, to expose the INF file.


|
The final step is to select the driver settings BSF file as created in step 3.

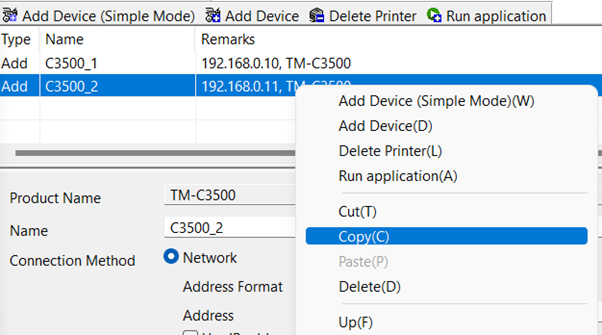
Right-click on the ListView items for Context Menu of functions, click Copy.
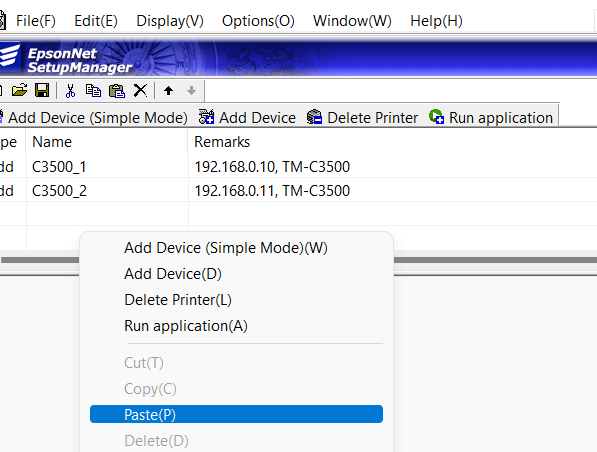
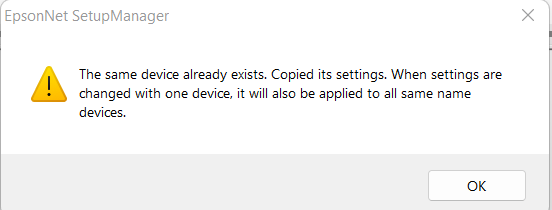
Then right-click on the LIstView >> Paste, to make a new driver instance:
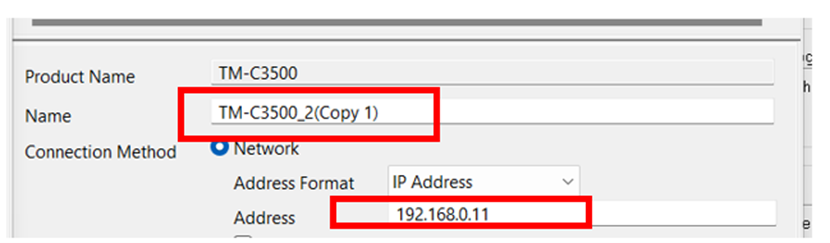
Change the name and IP address of the duplicate.
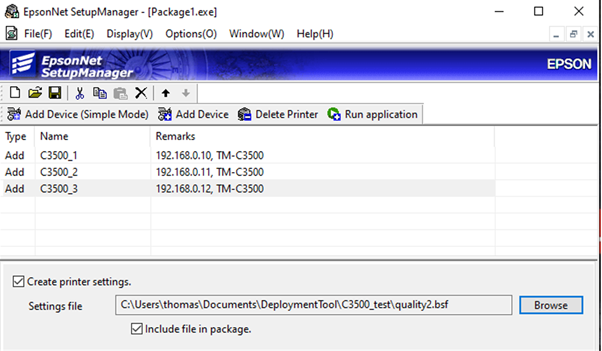
After all the required driver instances are created then proceed to create a silent installer, by using the save button.
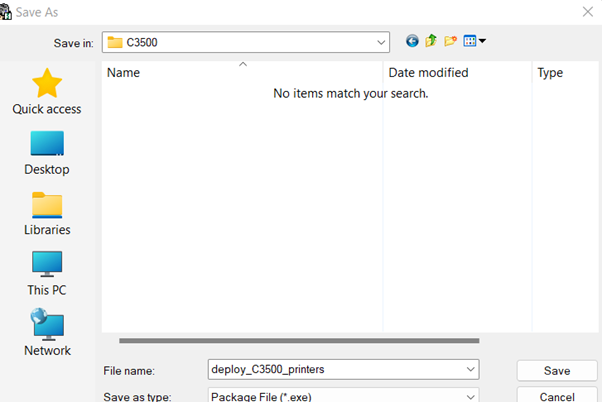

Run the EXE from Windows Explorer. The printer deployment may take several minutes depending on how many driver instances are being deployed,

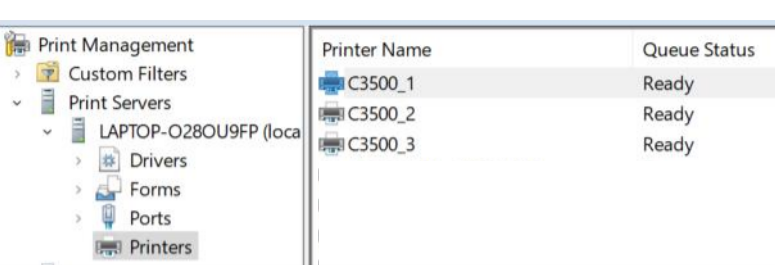
To see the results, the new installed printers can be shown in Print Management: